How to Draw Lineart in Paint Tool Sai
PaintTool SAI: How to encourage your skills
PaintTool SAI May cost a fairly straightforward graphic design software but it's a stiff one and IT takes a skilled digital artist to master IT. Angela Wang is just such an artist. Also known online arsenic awanqi, Wang is a paid illustrator who has a penchant for historical and fantasy case pieces and has worked for clients crossways publication and comics (to further improve your part work, see our top fibre design tips).
Wang used PaintTool SAI to create an illustration that evokes characteristics of the Hellenic gods Hypnos and Thanatos, using colourize to unmoving the tone and light to direct focus. In that article, Wang will share the creative process behind this instance also Eastern Samoa bounteous tips and techniques that she finds useful to her artistic practice. Read on to find out how you can also become a master of PaintTool SAI – and checker our best digital art tool guide for more on other prowess software.
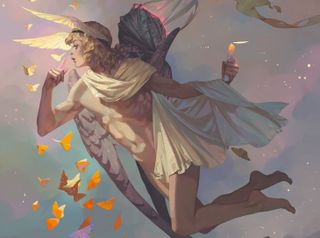
01. Trial come out of the closet your ideas
(Image: © Angela Wang)
When coming up with a sketch, I'm to a lesser extent preoccupied with the aesthetics of neat lines. I usually set about with straighter and more semirigid lines that are borne out of warm movements, because I've found that this helps Pine Tree State to adjudicate if I'm on the right track. I don't want to waste time guessing what I've just drawn.
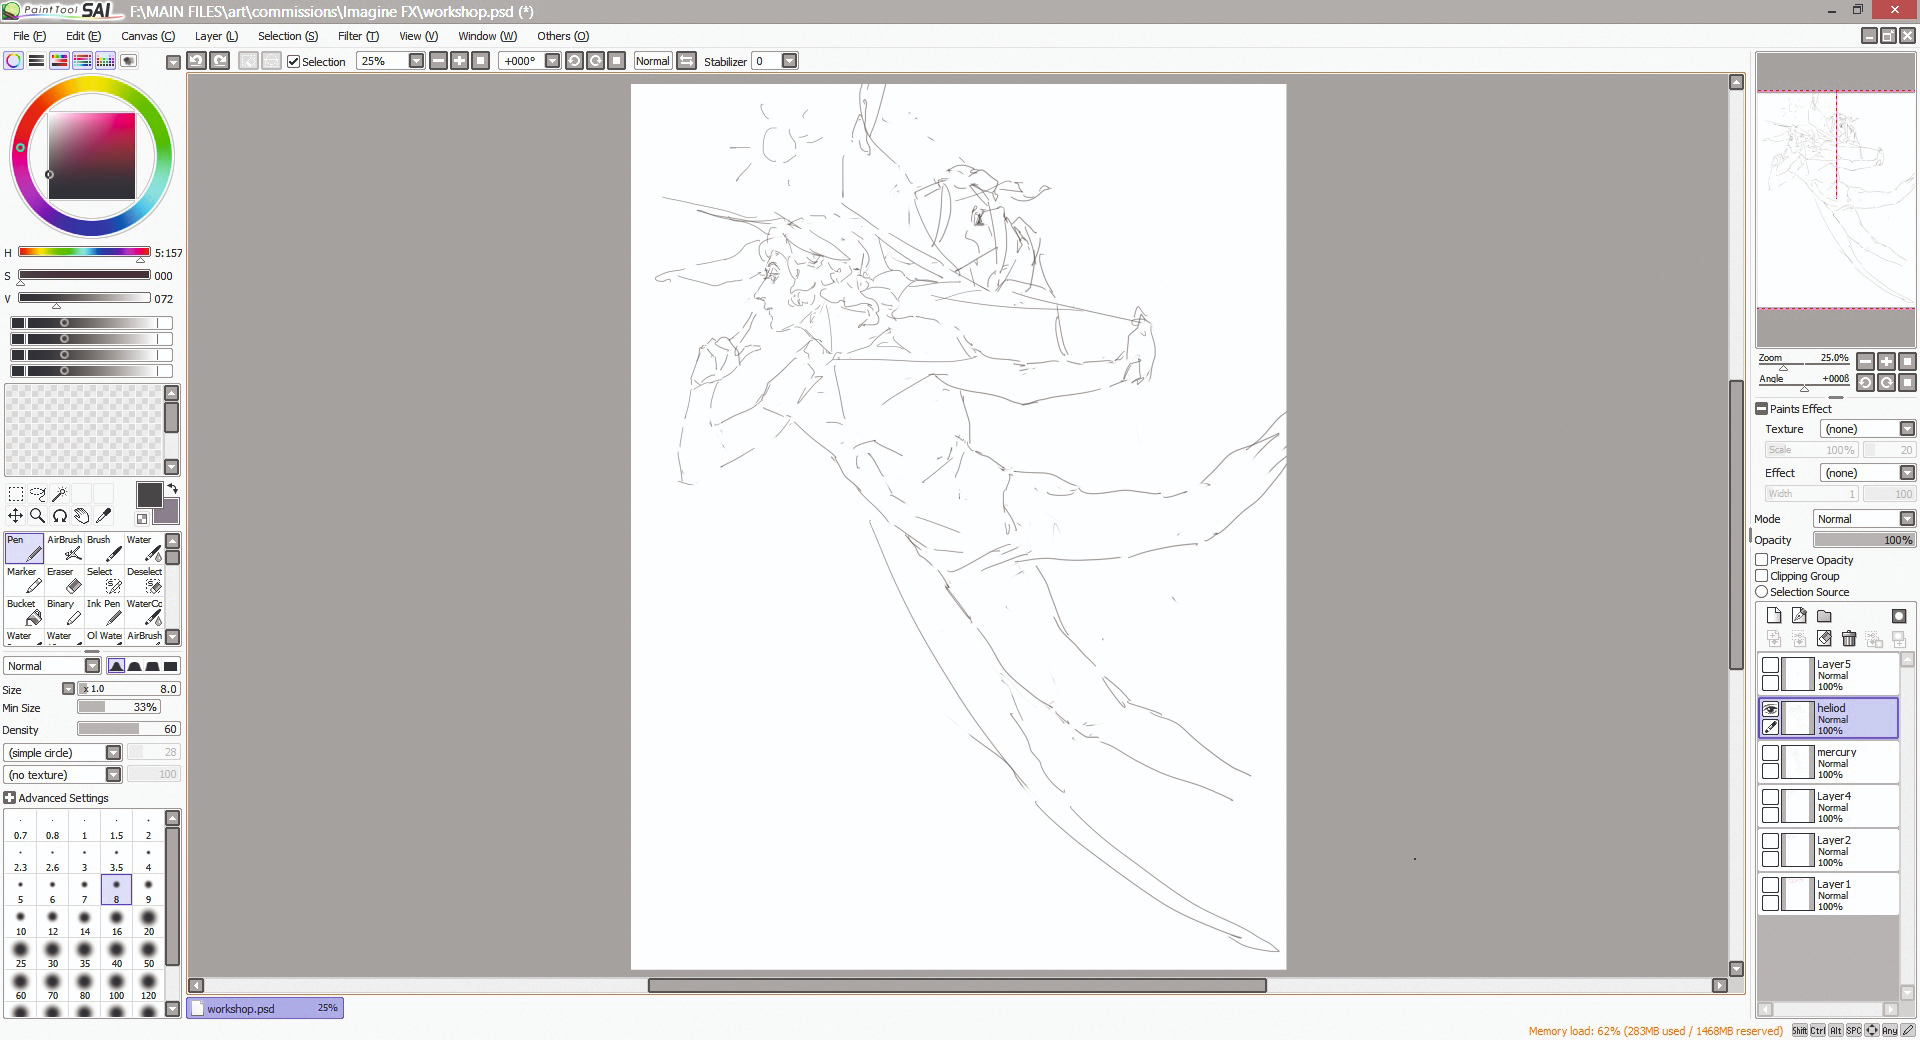
02. Refine parts of the adumbrate
(Image: © Angela Wang)
At this stage I'm starting to fixate the decisions I've successful, which enables me to refine the more ambiguous parts of the sketch. What really gets the nut rolling is when I start particularization faces – this ordinarily tells me that things are working out as yet.
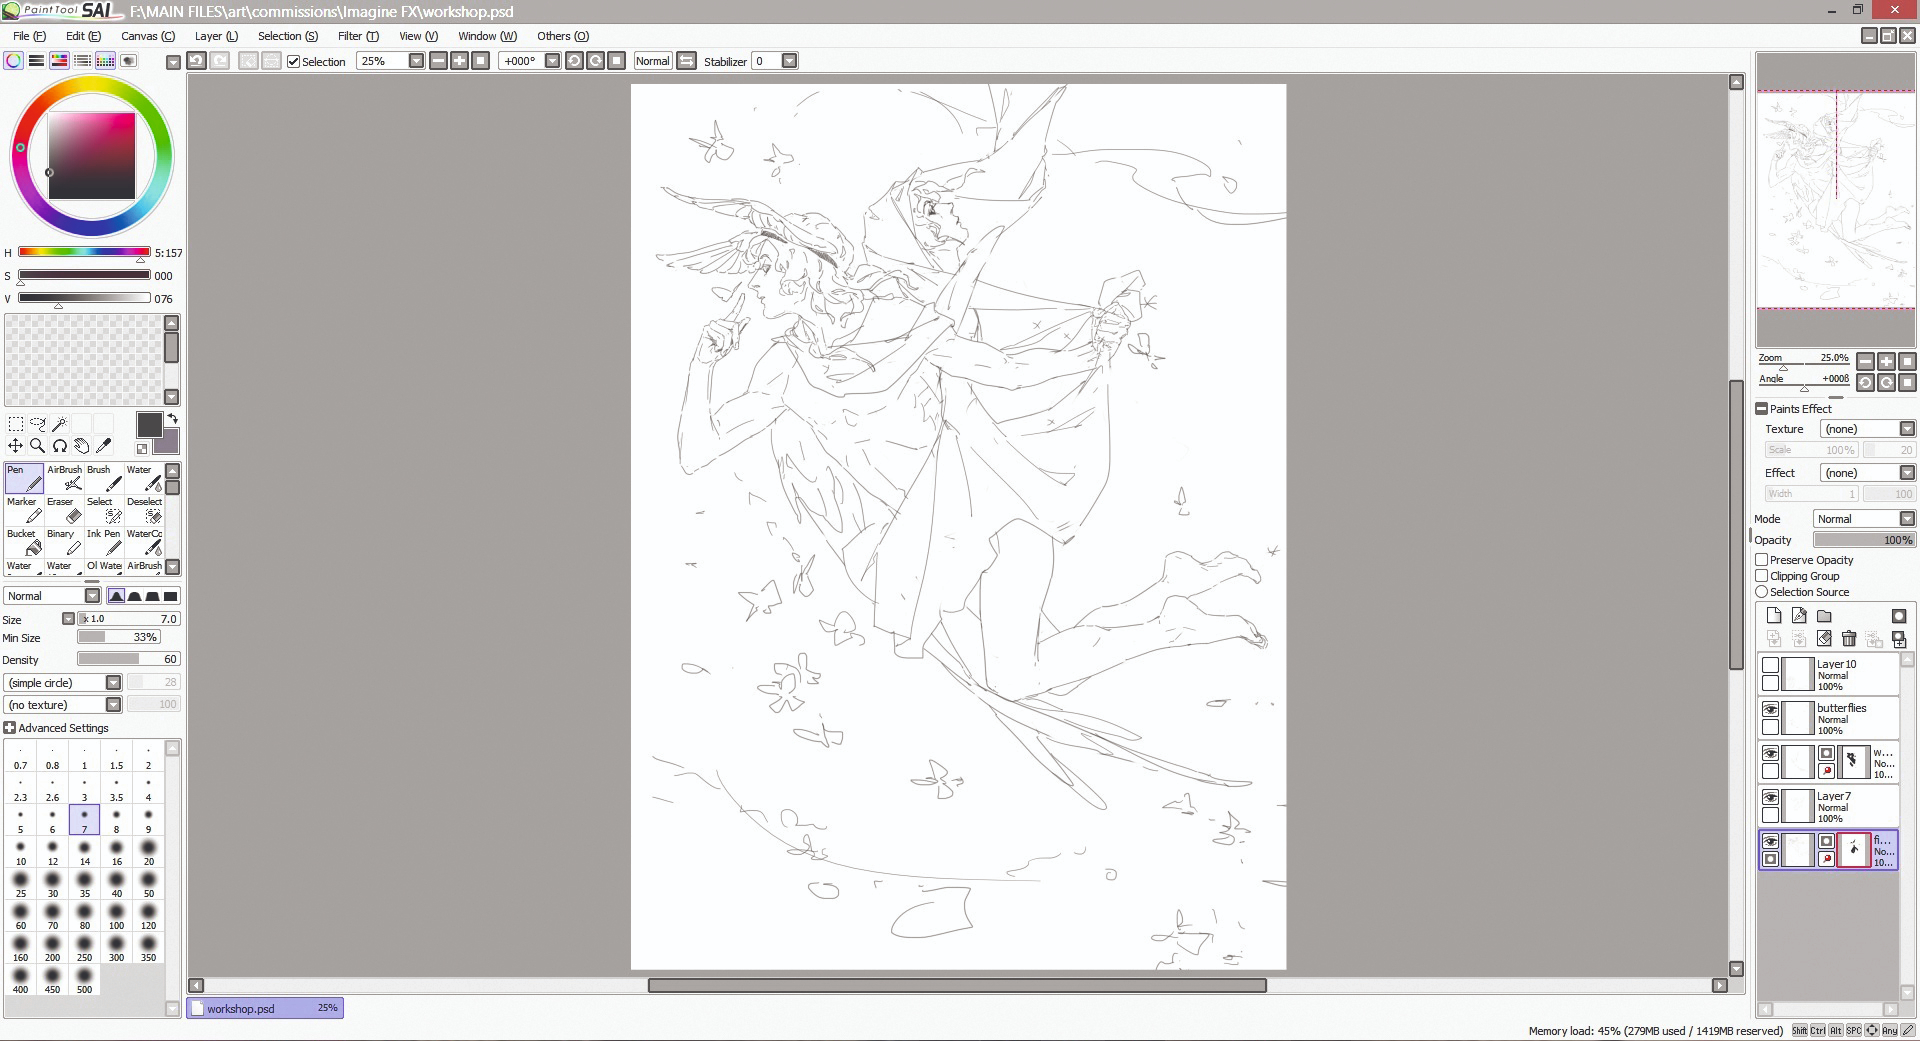
03. Incur the final sketch fix for painting
(Mental image: © Angela Wang)
I like-minded to glucinium neat with the sketch in the close; it makes the house painting process less unclear. Once I'm happy with the results, it's time for me to make out the base layers. Ahead that happens, though, my following step is to change the sketch layer to Multiply and reduce the Opaqueness until I can still see my resume, but it's not overpowering the composition.
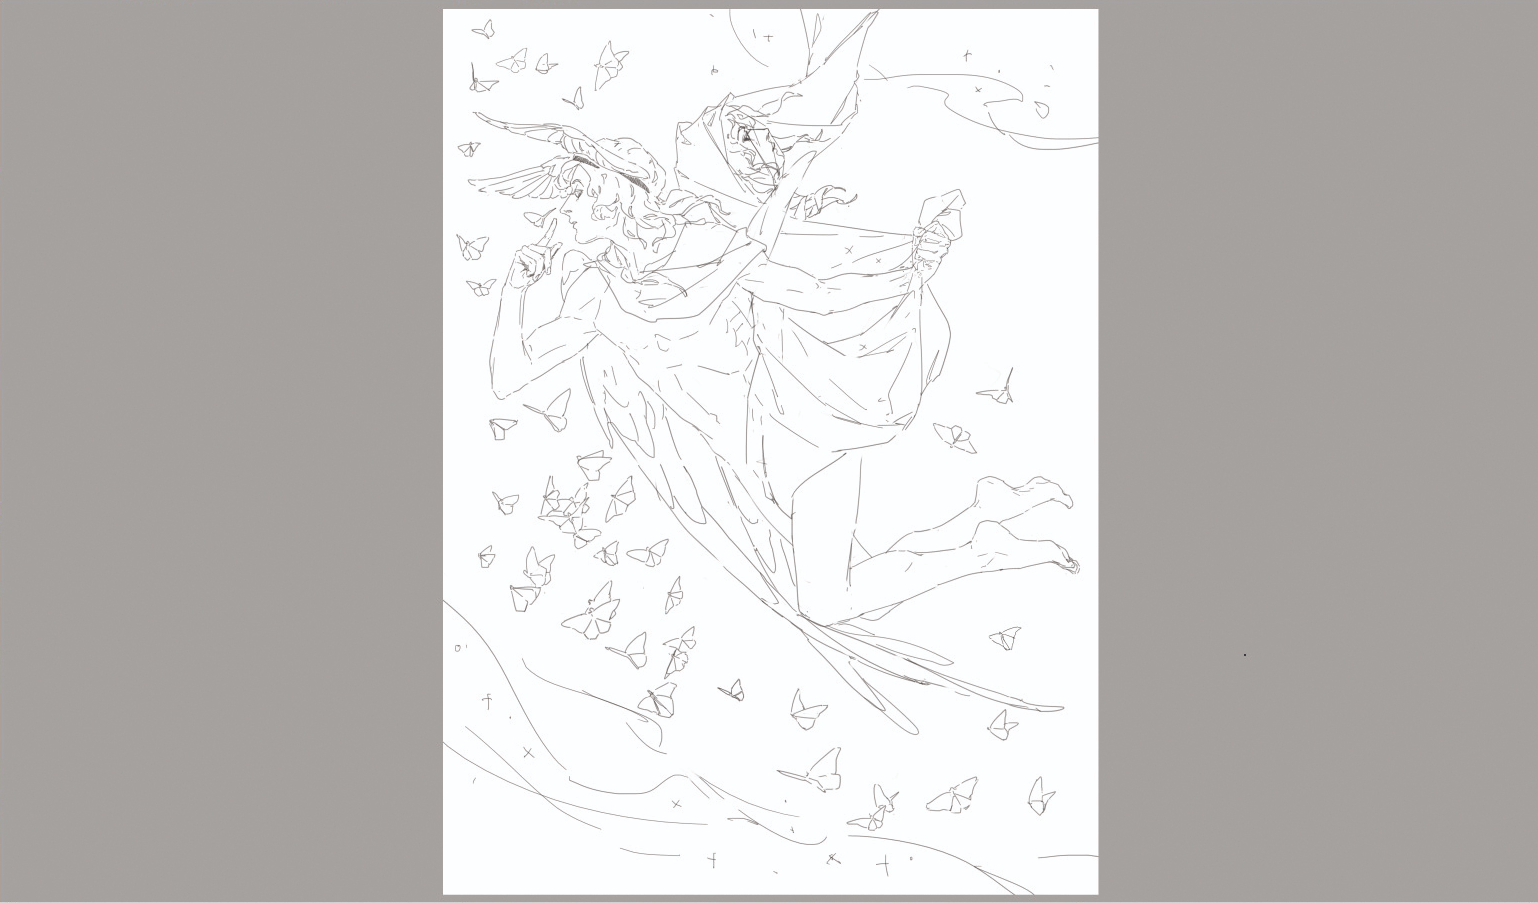
04. Fill in the base of your instance

(Image: © Angela Wang)
Before starting the painting stage, I meet in each section with a inert colour (often shades of grey, nothing too saturated) and lock the Opacity. This enables me to key freely, albeit roughly, without disturbing about losing the shapes.
05. Establish light and distort
(Image: © Angela Wang)
At this point I'm non detailing anytime soon, which means I can blend in uncivilized with colours. I commonly try out disparate variations of value and colour until I witness something I like-minded. I want the piece to have a dreamy feel, so I cause blues and purples in mind as I lay Down my colours.
06. Head start the house painting action
(Image: © Angela Wang)
Equally I begin painting more of the details, I further reduce the sketch layer's Opacity soh it's barely visible. This substance I can rive on the values rather than the lines in range to establish forms. The sketch becomes Sir Thomas More of a distraction rather than an assist as the rendering goes on, so it's forever freeing to finally turn it off.
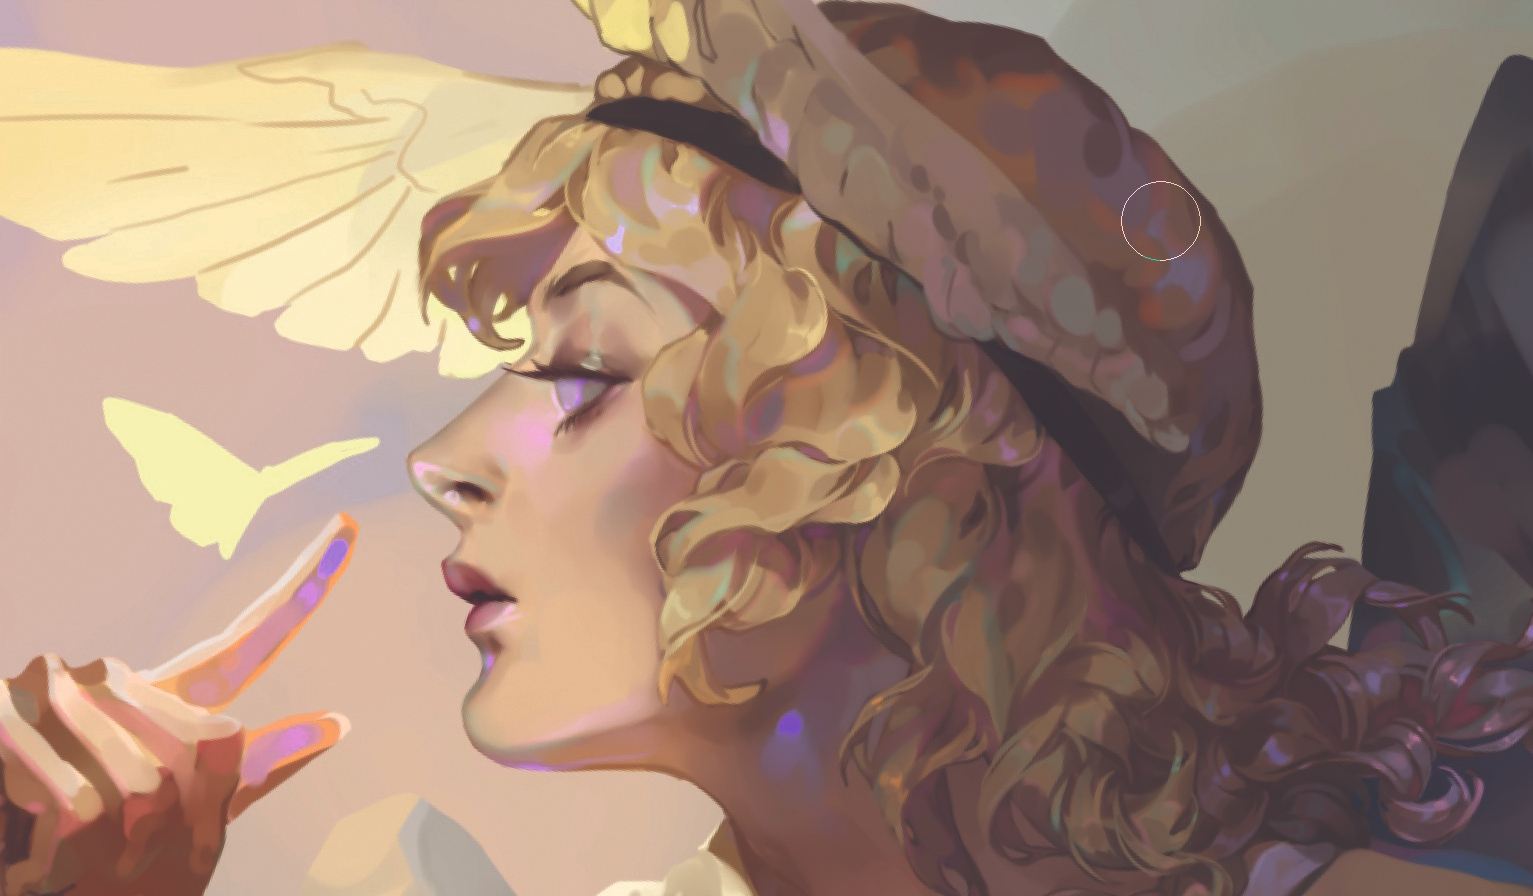
07. Get in headfirst
(Image: © Angela Wang)
I enjoy painting faces, then I ever start Hera. This as wel helps Pine Tree State to build up momentum during the creative process. Whenever I start to lose steam, I can look at the look that I've only visualized to cue myself that yes, I can actually paint. I key with the Brush tool for harder edges and details, as well arsenic the Watercolor tool for softening the edges where necessary.
08. Work section by plane section
(Image: © Angela Wang)
At one time one section (for example, the head) is finished, I can progress to the next. Doing soh basically generates a checklist in my manoeuvre on what comes next. My usual order is head, followed by the shoulders, torso, legs and so along. I also process from the interior out, such as from the face to the haircloth, Oregon from a bare arm to the fabric connected top of it.
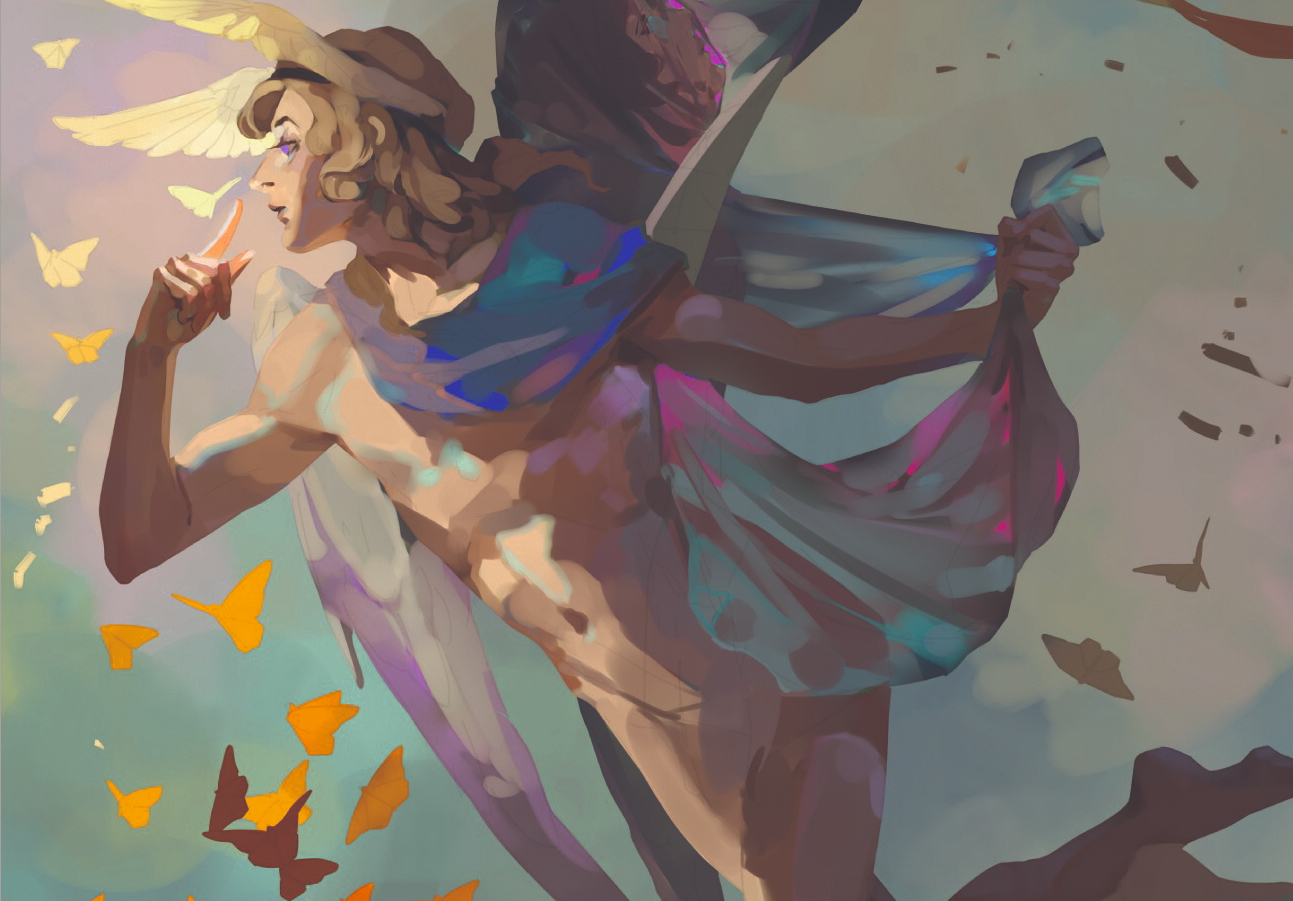
09. Render clothing and fabric

(Image: © Angela Wang)
I start loosely with the rendering in front tightening information technology up advanced. This particularly applies to fabric because I find it tricky to form the shapes, ruffles and folds ab initio, so I spend a flock of fourth dimension establishing what comes next. Because I'm working from loose to detailed, my copse use follows in a similar manner: from Brush (hard, simple edges and messy) to Watercolor (soft and blendable).
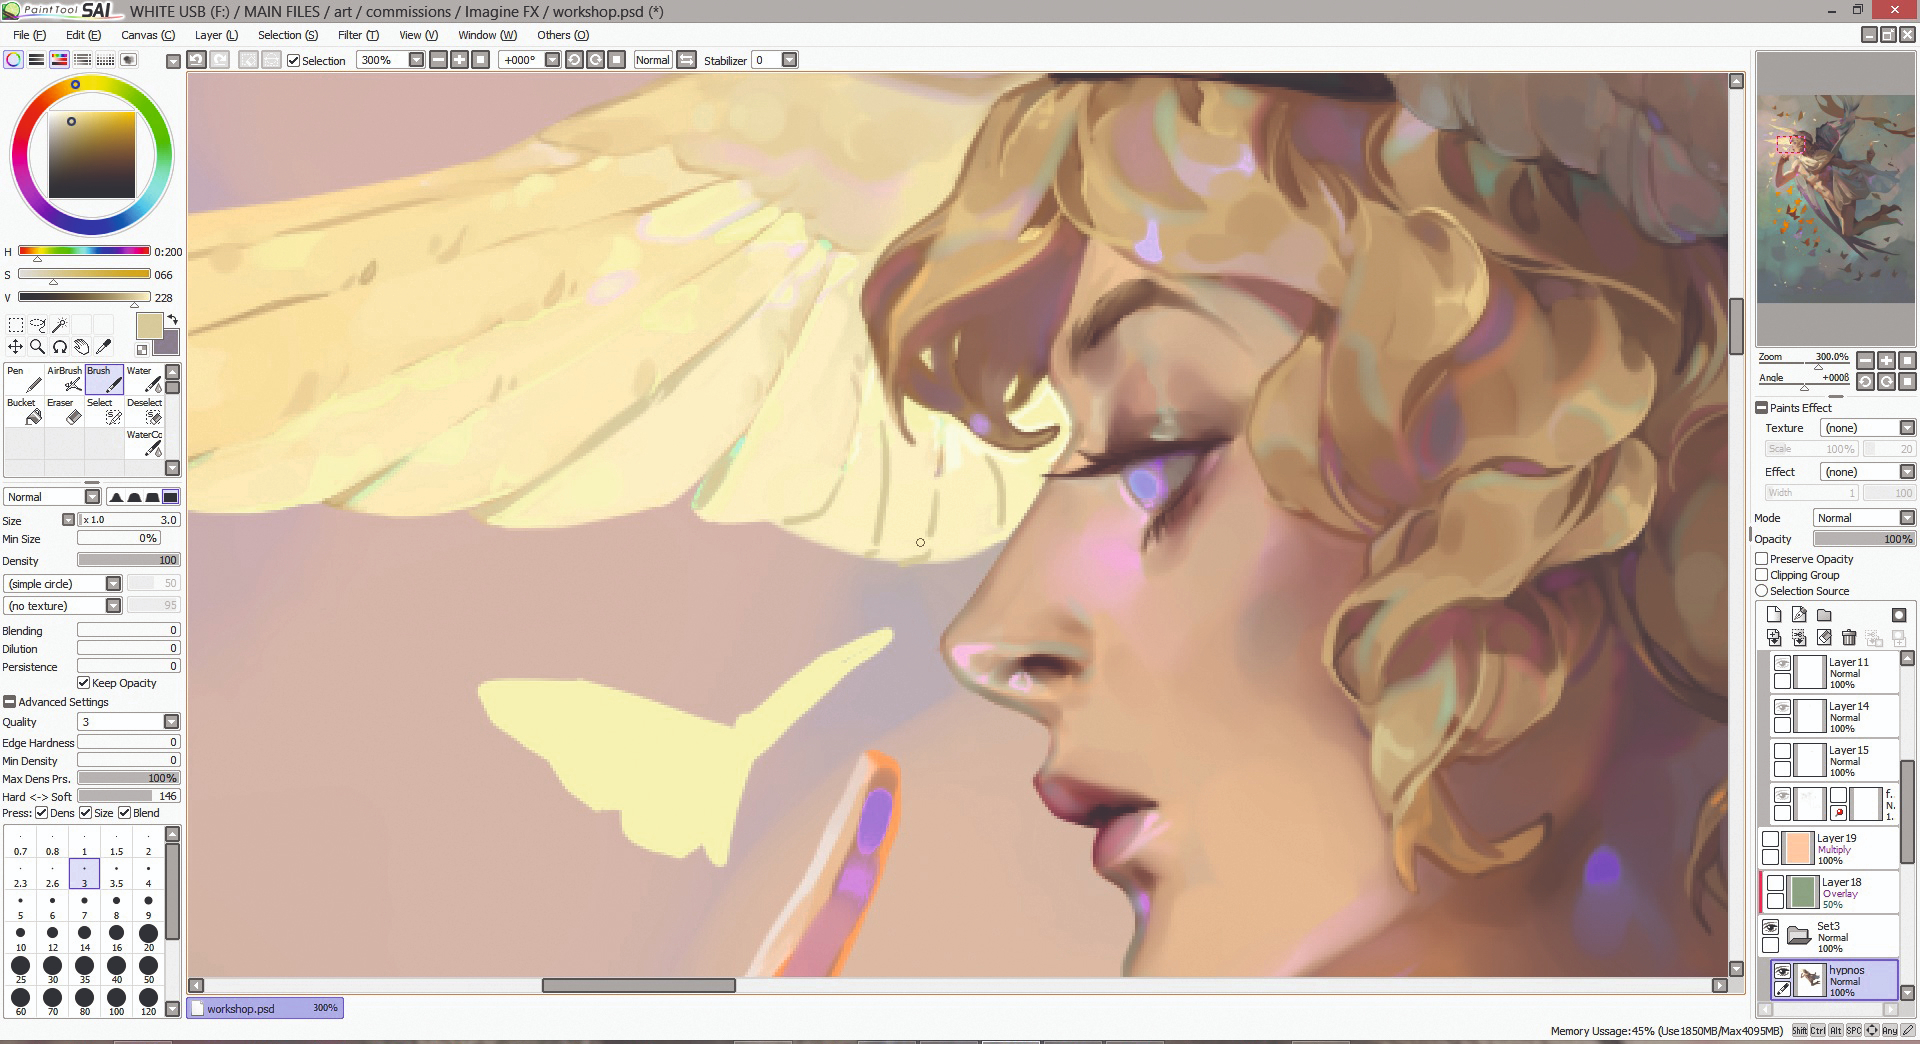
10. Make use of layer effects
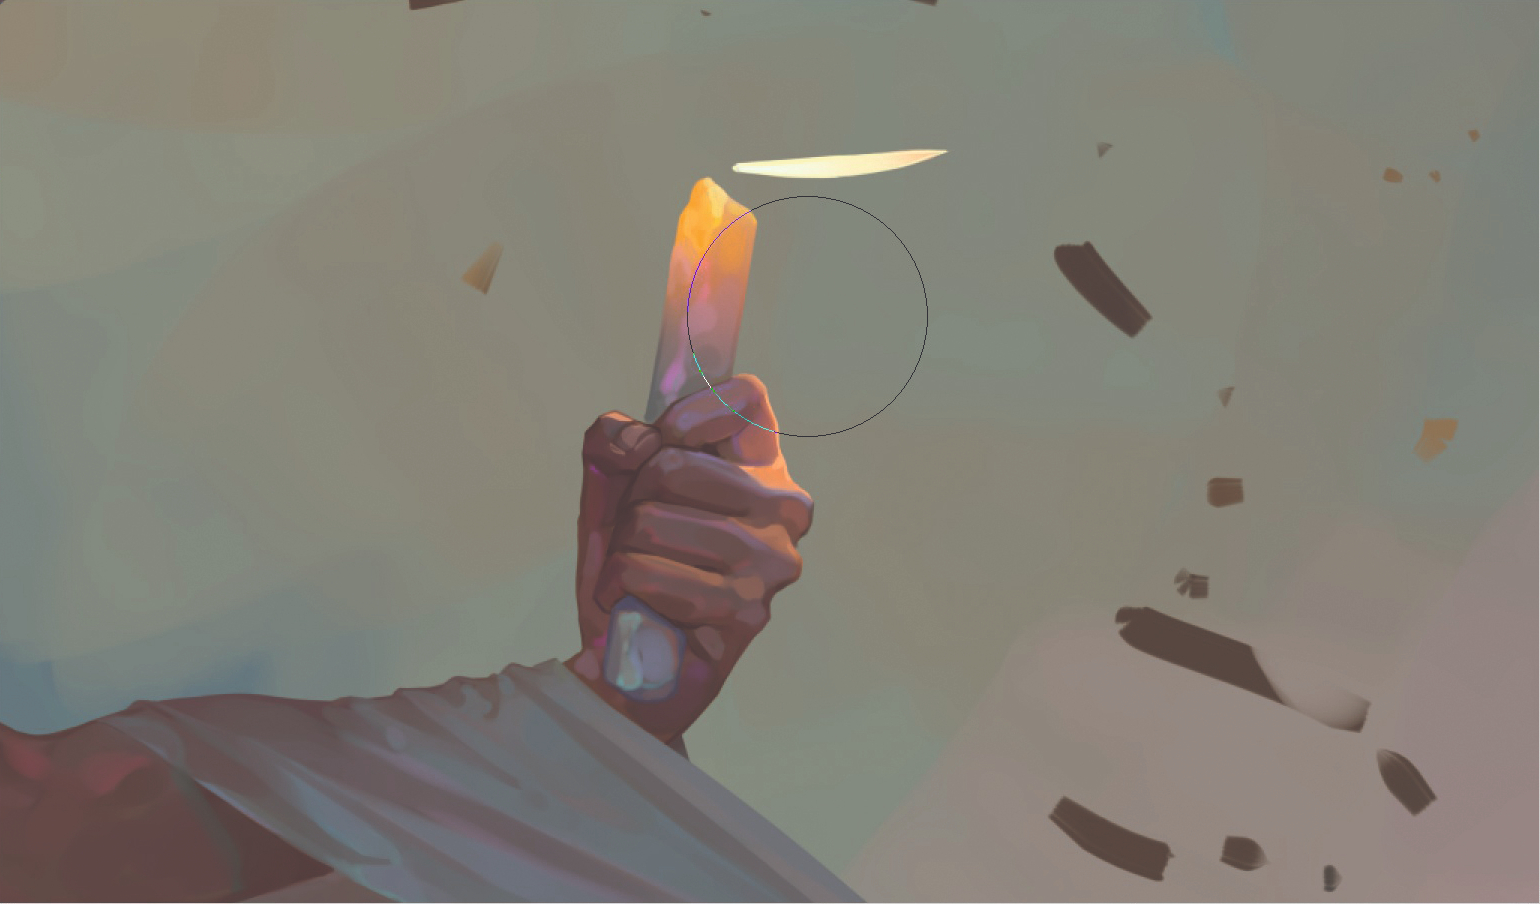
(Image: © Angela Wang)
I like to use up Overlay layers for radiance objects, such every bit the candle here. When doing thusly, an straight and gradual spread is necessary, so I use the Airbrush tool for a super-soft placement of colour. It's a small detail, but minor personal effects can sometimes add so much!
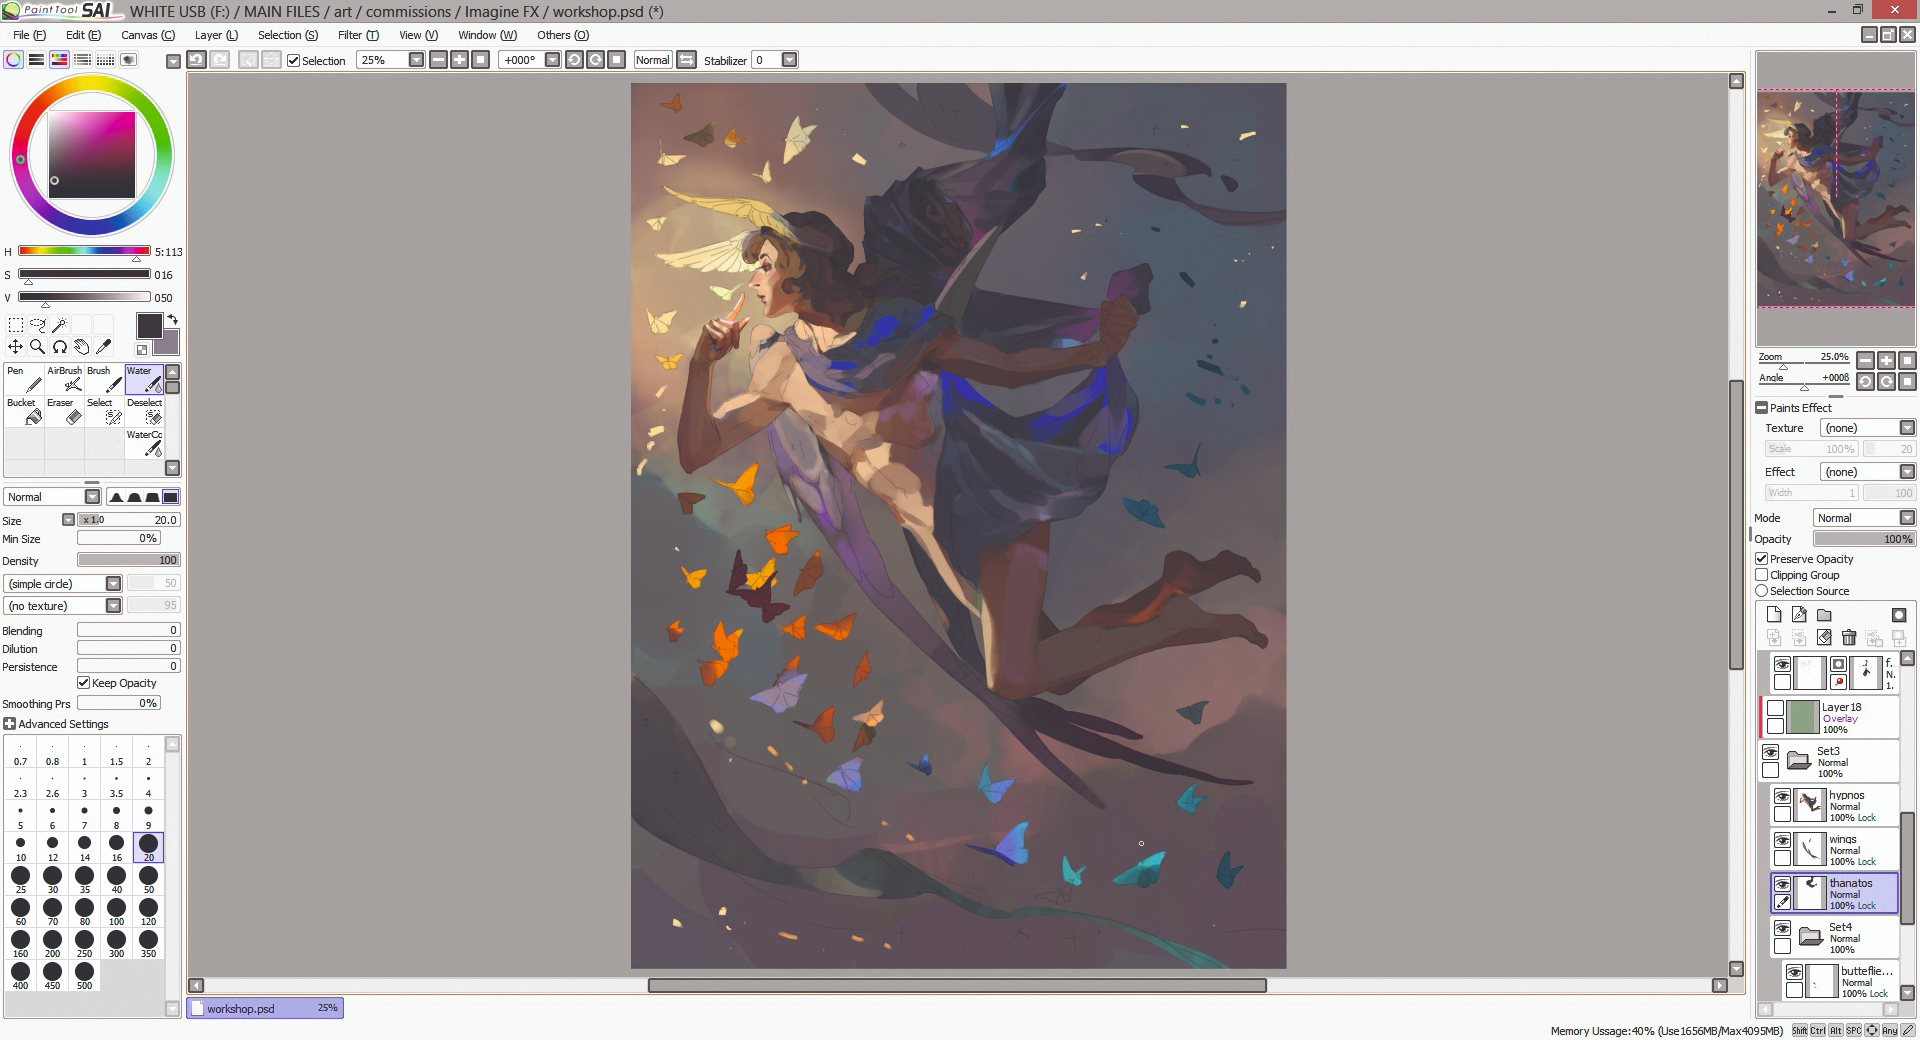
11. Try extreme zoom-outs

(Image: © Angela Wang)
Call back in art class when your instructor told you to step back from your artwork to see how it looks from a distance? It's the like concept Here. I zoom out so the image is tiny and I can bore the boilers suit sense. I don't care much for the newfangled greener background colour, so I test down new colors with an Overlay level over the background layer. It helps to picture the results from afar.
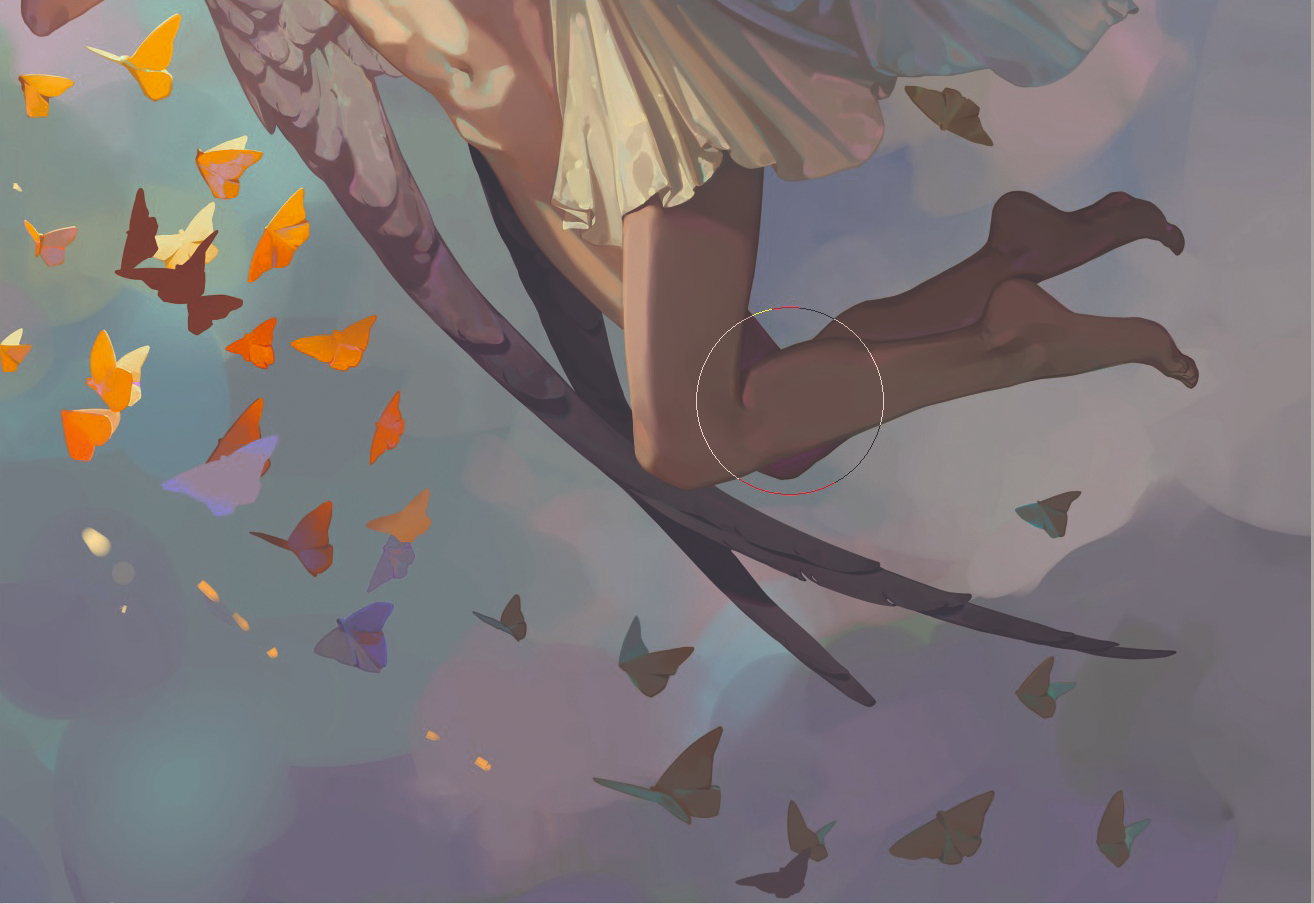
12. Blusher the wings
(Image: © Angela Wang)
I find that light and shadow help to shape objects that are flat, such as feathers. Using the sharper Light touch instrument for careful edges and the Watercolor brush for blending and softening shadows or edges, I shape the wings with shadows archetypical, followed by light and then details. I enjoy creating subtle distort variations, so I make sure to include those at the edges where different colours or values meet.
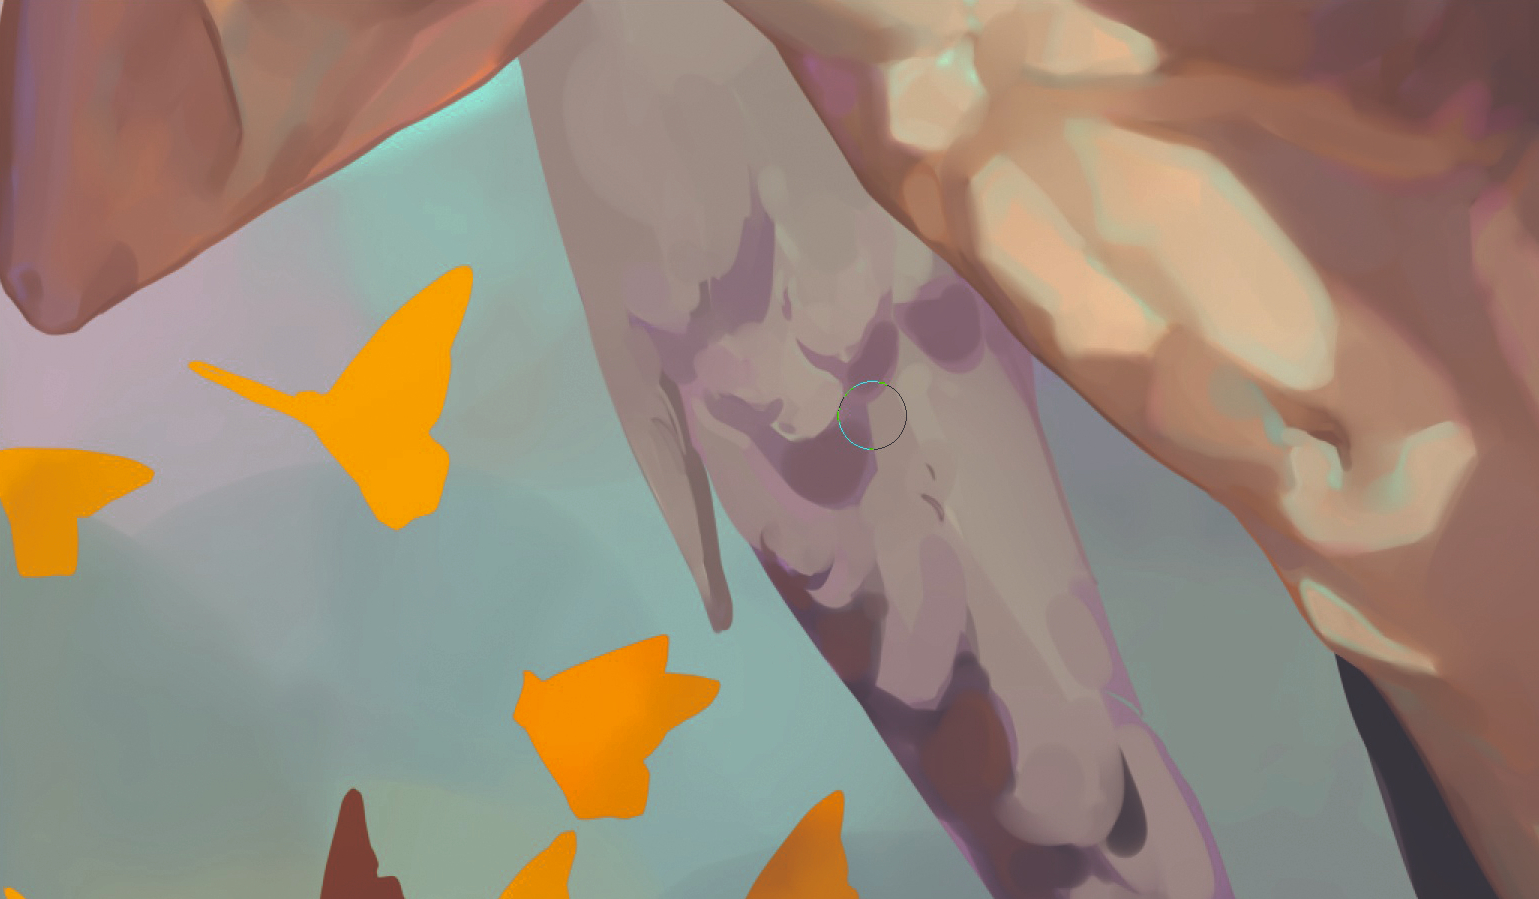
13. Cultivation details
(Icon: © Angela Wang)
Eastern Samoa I paint the butterflies, I make surely that they either stick ou against surgery fade away from the setting. The general lighting should move them in the same way, too, so the further they are from the light, the darker and less flaming they become.
14. Refine the background
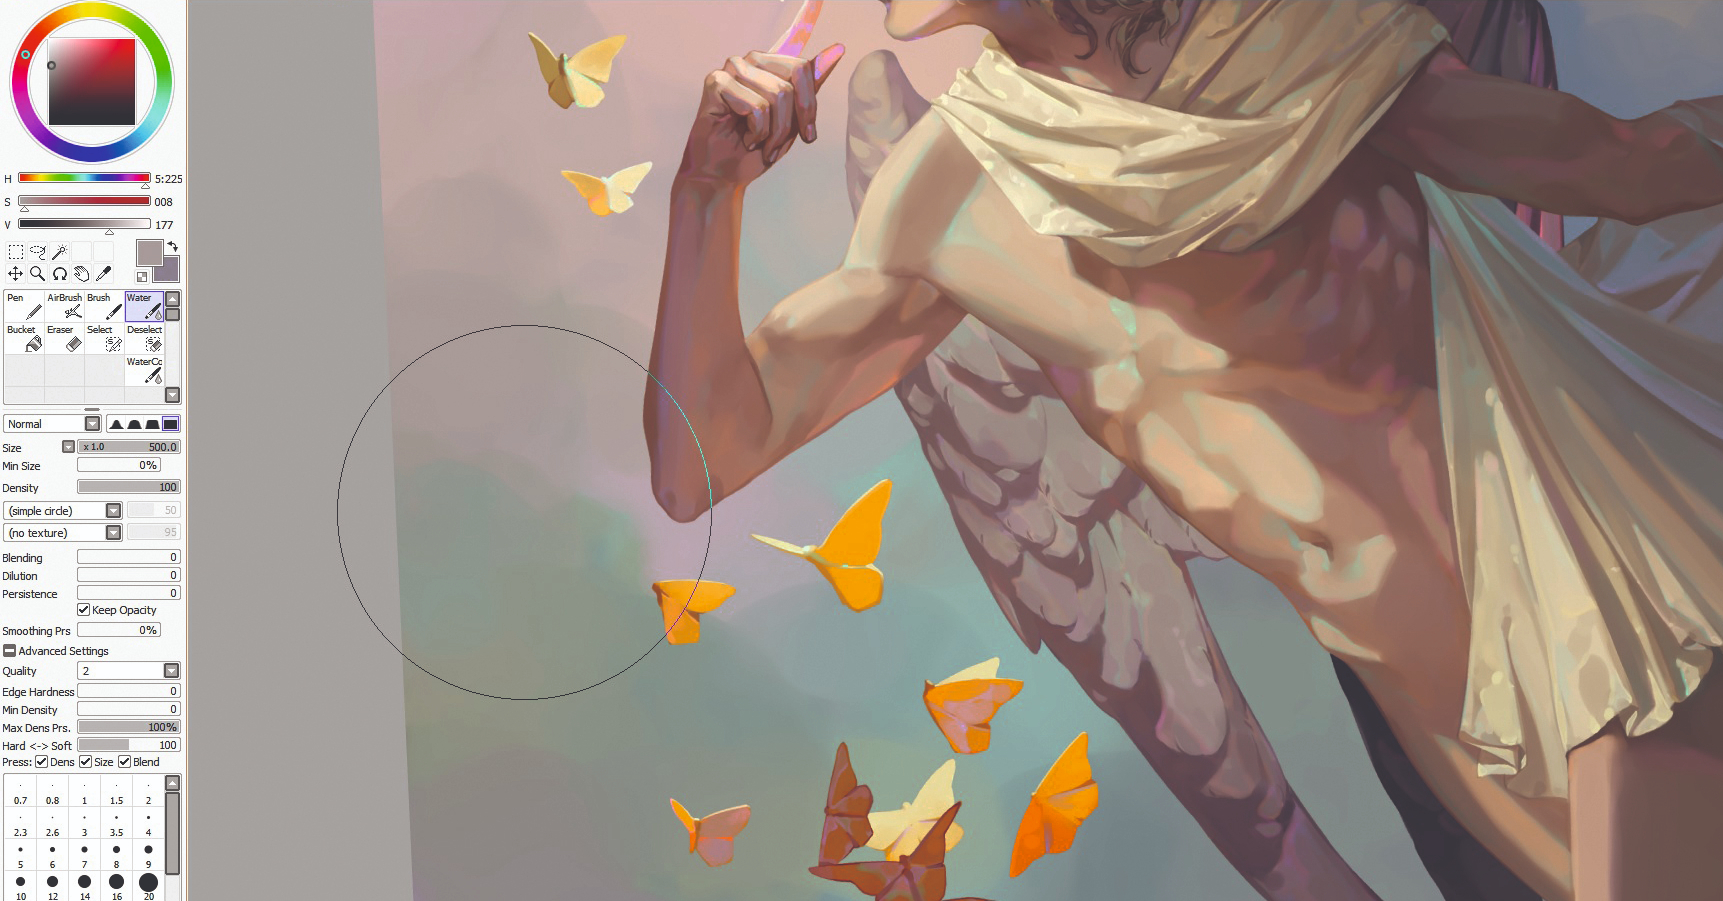
(Image: © Angela Wang)
Now I move on to the background. Because the 2 gods are hurried, or at to the lowest degree unfixed in the air, I decide that an environment of clouds and stars is appropriate. I fixed the Watercolor tool at a large size and make soft marks, bit by bit building up the clouds to bring down a sleepy, relaxing atmosphere.
This article originally appeared in ImagineFX , the world's best-selling magazine for appendage artists. Sign over here .
Related articles:
- The best stylus for Android devices
- How to be a case architect
- How to paint over a 3D environs

Also known online Eastern Samoa awanqi, Angela Wang is a freelance illustrator World Health Organization has a predilection for history and fantasy and has worked for clients in publication and comics.
Related articles
How to Draw Lineart in Paint Tool Sai
Source: https://www.creativebloq.com/how-to/paint-tool-sai
0 Response to "How to Draw Lineart in Paint Tool Sai"
Postar um comentário